How a drone light show works, from sketch to the last landing
The full pipeline behind a drone show: storyboard, animation limits, drone assignment, authorisation, RTK setup, preflight gates, timecode sync and logs.

In this article 7 sections
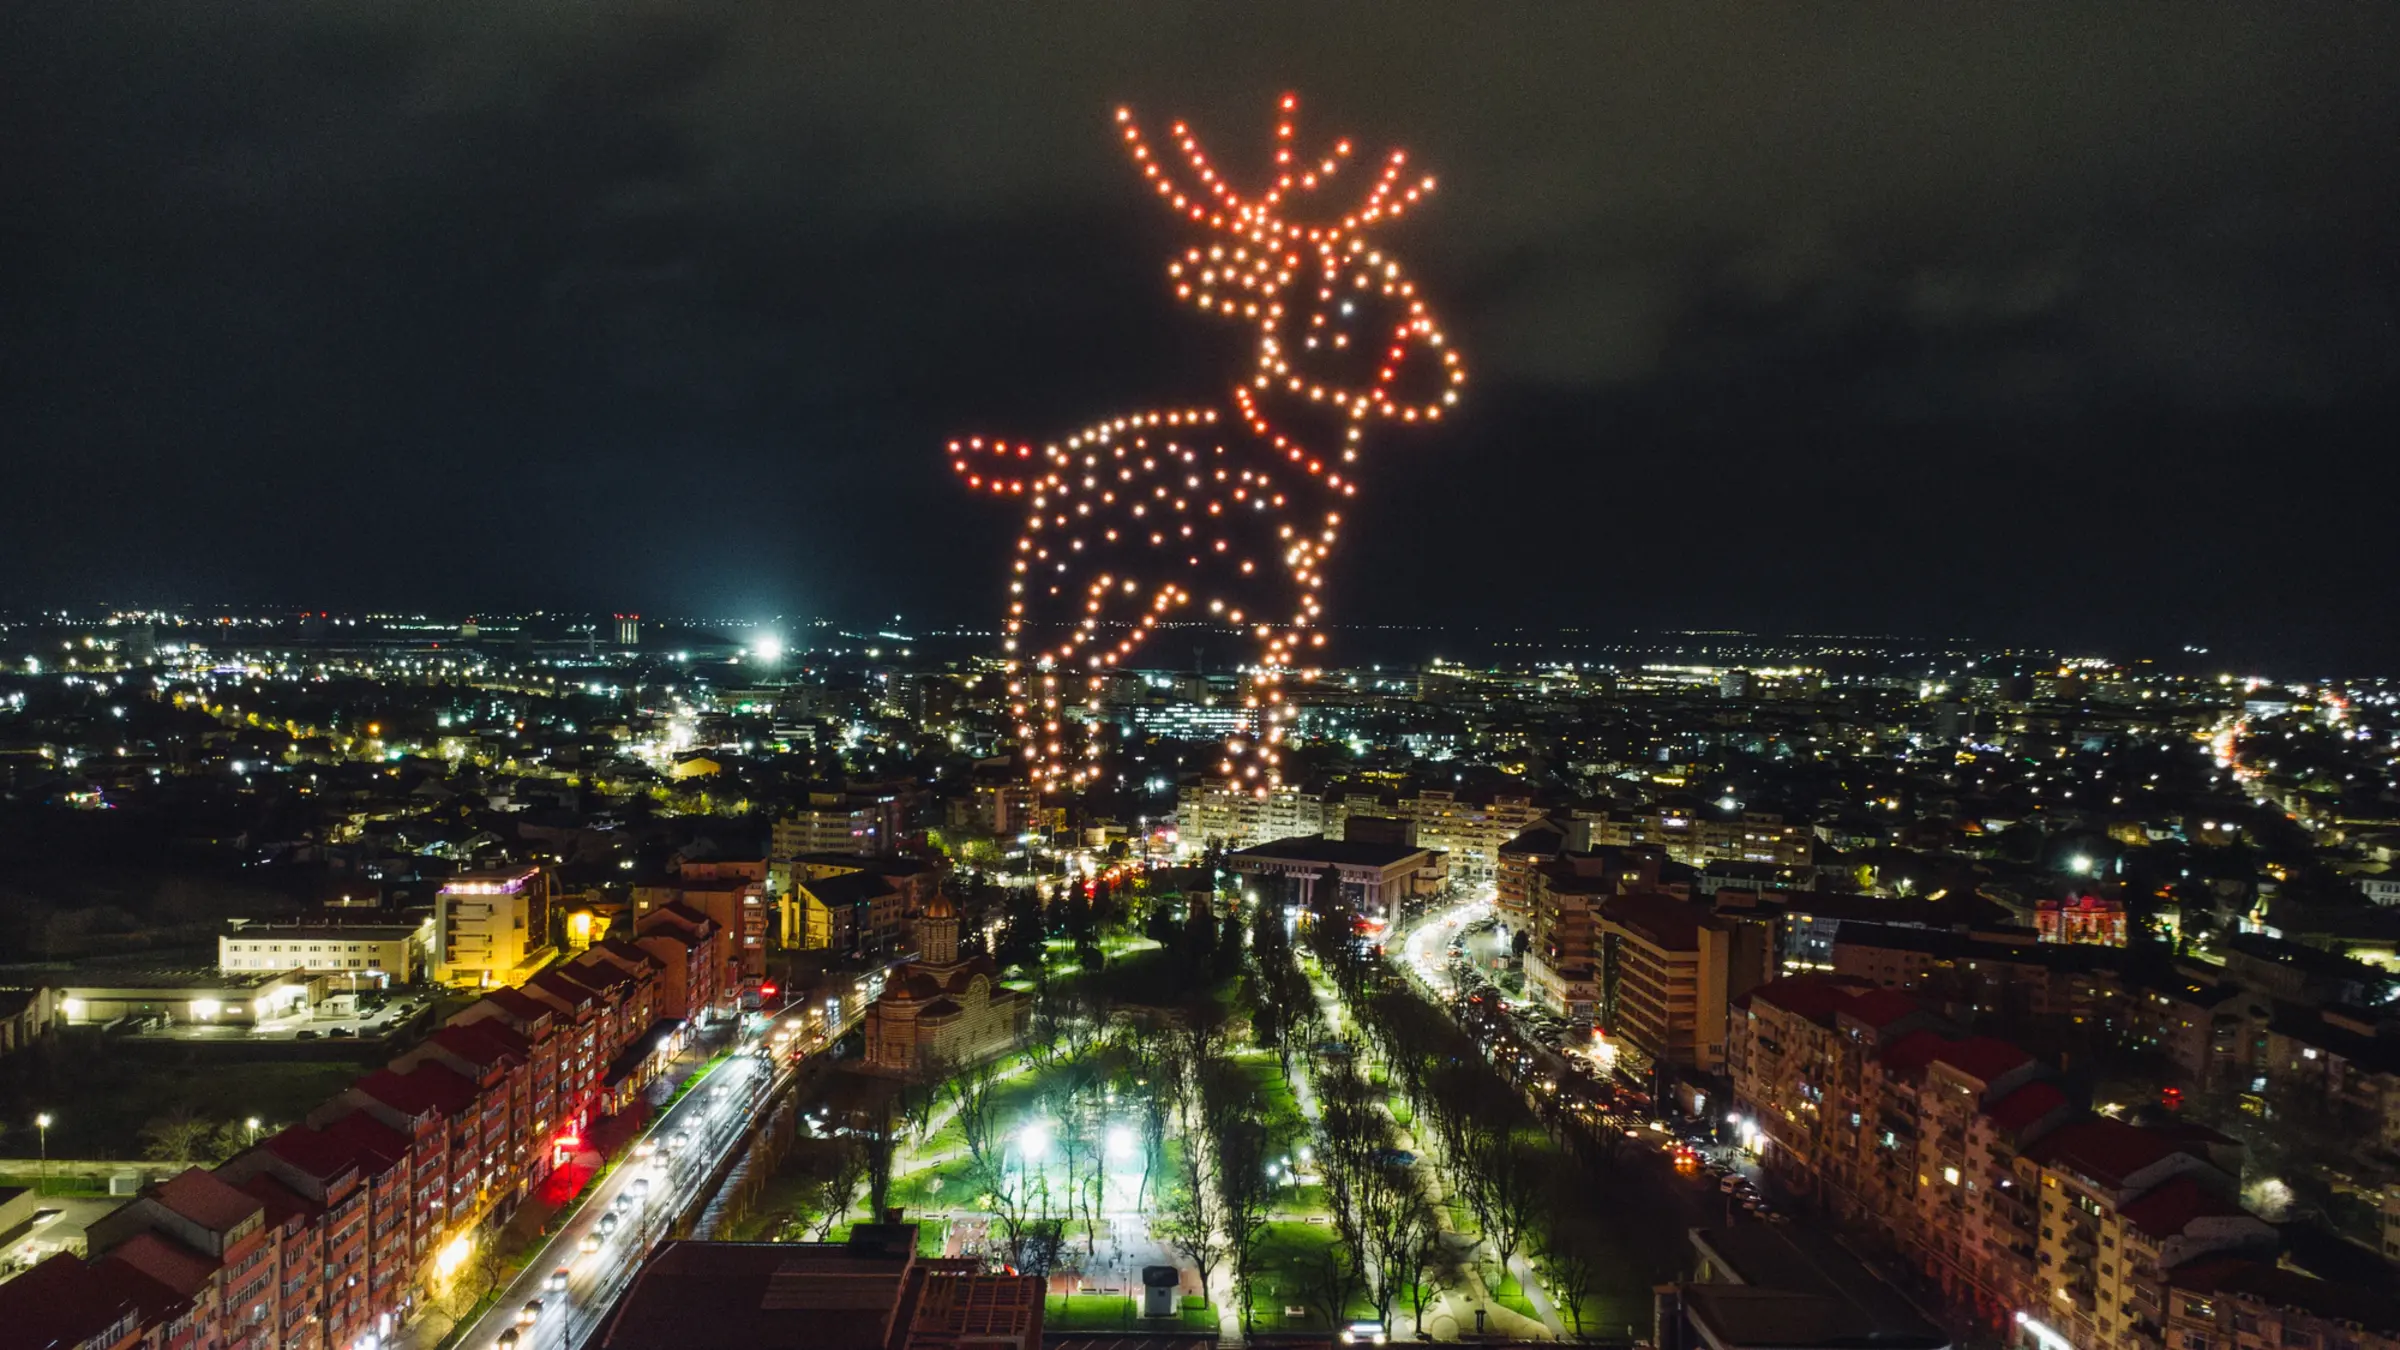
From the crowd, a drone light show looks like a single object: a picture that draws itself in the sky, changes shape, and disappears. From the launch site it looks very different. It is a chain of steps that starts weeks earlier with a sketch and ends after midnight with a laptop full of flight logs. Each step hands something to the next one, and a mistake that slips through early tends to show up later in the air.
We design, build and fly our own show aircraft, so this is written from the launch site as much as the design studio. Most explainers stop at “the drones follow a pre-programmed path”. The interesting part is what makes that path safe to fly, and the checks that stand between it and the audience.
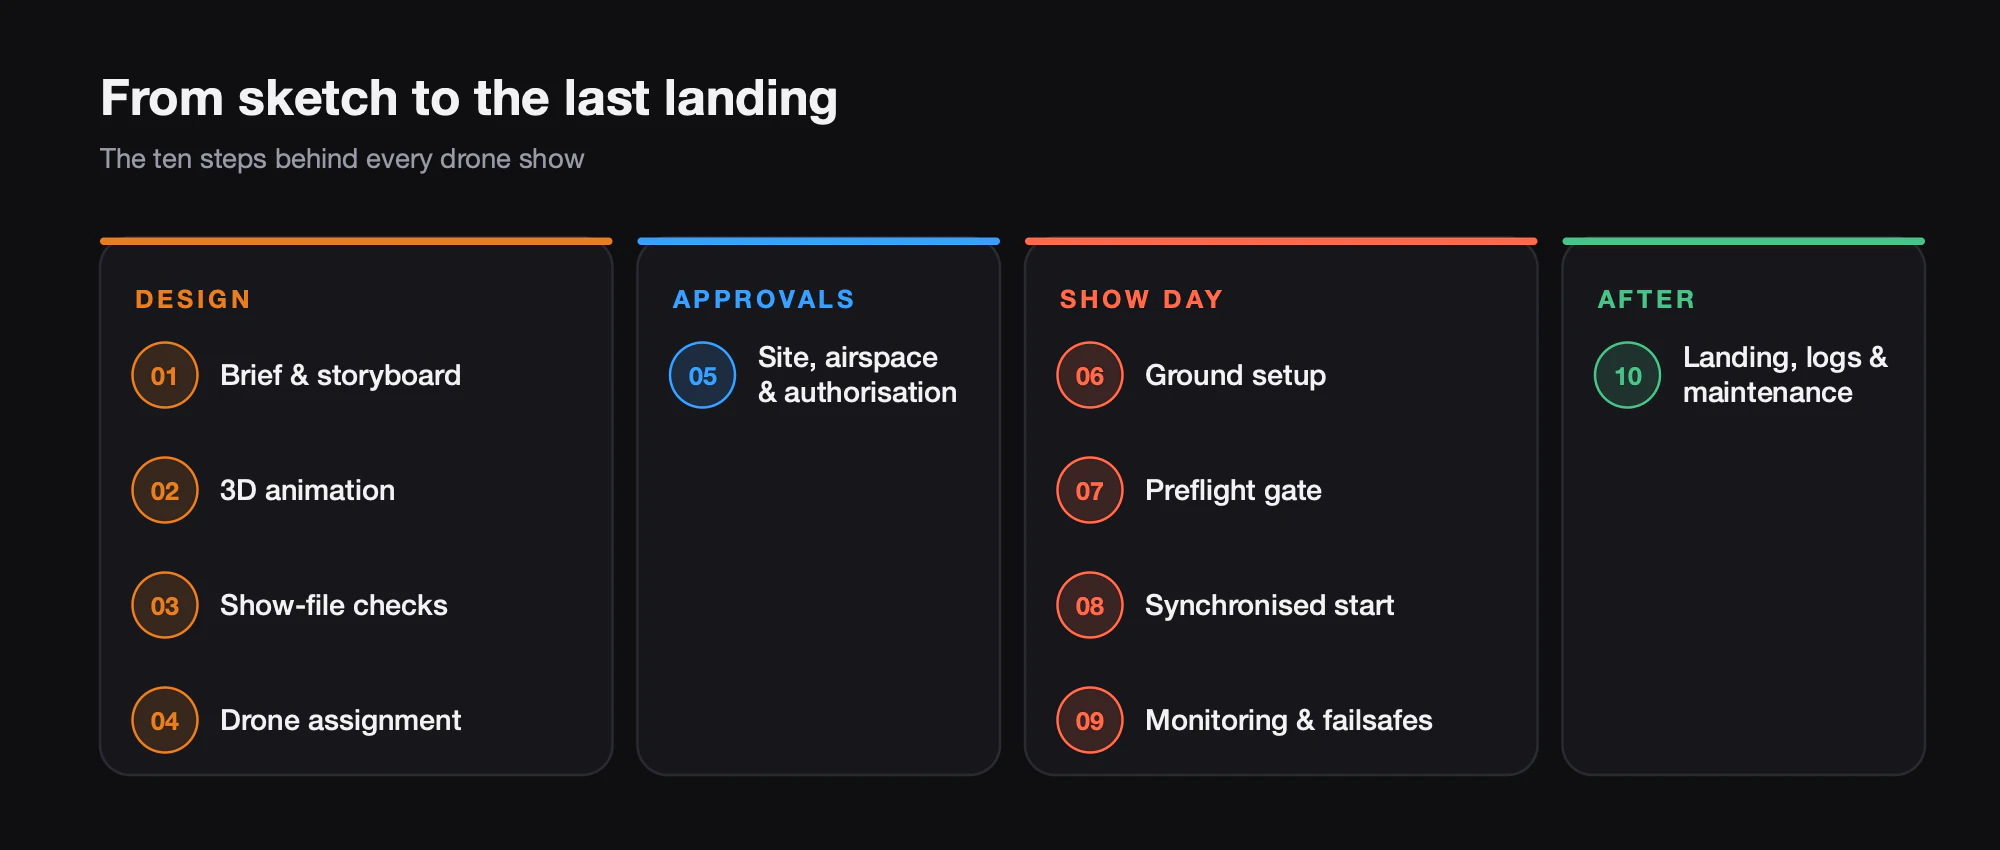
The pipeline at a glance
- Creative brief and storyboard. What the audience should see, and when.
- 3D animation. Every drone becomes a moving point of coloured light.
- Show-file constraints. The animation is checked against what aircraft can actually do.
- Drone-to-position assignment and launch grid. Which aircraft flies which path, and where it sits on the ground.
- Site survey, airspace and authorisation. Where the show can fly, and with whose permission.
- Ground setup. Grid layout, GNSS correction base station, radio links.
- Preflight checks. A gate that stays closed until every aircraft is ready.
- Synchronised start. One start moment for the whole fleet, locked to music via timecode.
- In-flight monitoring and failsafes. Watching every aircraft, with automatic responses ready.
- Landing, logs and maintenance. Recovering the fleet and learning from the data.
Design: from storyboard to a flyable show file
Brief and storyboard
The brief sets the fixed points: venue, date, audience position, duration, music, and the handful of images that matter most to the client, such as a logo, a mascot, a date or a message. From that we build a storyboard: a sequence of formations with rough timings, usually drawn against the soundtrack so that big moments land on big musical beats.
Two questions shape the storyboard early. First, where is the audience? A formation that reads perfectly from the front can be unreadable from the side, so we design for the main viewing angle and check the others. Second, how many aircraft does the design really need? Fine detail such as lettering needs density, and density means more drones, more setup time and more batteries.
Animation, then the physics check
The storyboard becomes a 3D animation in which every drone is a point that moves and changes colour over time. Show designers usually work in 3D tools extended with show-design plug-ins. The building blocks are the same everywhere: formations, a storyboard that places them on a timeline, and computed transitions between them that typically last tens of seconds.
An animation is not yet a flyable show. Points on a screen can do things aircraft cannot, so the design is tested against hard limits first.
| Constraint | What it protects against | How it is usually checked |
|---|---|---|
| Minimum separation | Mid-air contact between neighbouring aircraft | Closest-pair distance on every frame, measured centre to centre |
| Maximum horizontal and vertical speed | Paths the aircraft cannot follow, especially in wind | Velocity per drone per frame, with separate up and down limits |
| Maximum acceleration | Overshoot and position error during sharp changes | Acceleration magnitude per drone per frame |
| Altitude band | Flying too low near people or above the authorised ceiling | Minimum and maximum height checks |
| Light output | Battery drain and LED heat during long bright sequences | Colour and brightness budget across the show |
| Total duration | Running out of energy before landing | Show length plus takeoff, landing and reserve against flight time |
One point is worth repeating: design tools measure distances between drone centres and do not know the physical size of the aircraft. The minimum separation has to include arm length, propellers and position error, not just the gap you want to see in the sky.
Transitions are where collisions hide: two formations can each be perfectly spaced while the paths between them cross, and drones passing each other in transit come closer than they ever do inside a formation. If you want a given separation in transit, design the formations with more.
Duration and light share one battery. NOVA and GP4 2.0 are specified for 20-minute flights, but takeoff, climb and landing draw from the same energy, and a long bright white sequence costs more than a dim one. We budget the show against the aircraft’s flight time with a reserve, not against the music.
Which drone flies which path
Once the animation passes its checks, every path has to be given to a specific aircraft on the ground. This is a classic assignment problem: match each drone in the launch grid to a starting position in the first formation so that paths are short and none cross. The same matching is solved again at each transition. Show-design tools compute an optimal matching between drones and targets automatically.
The launch grid itself is part of the design. Drones usually sit a few metres apart, sometimes with alternate rows offset. The grid has to fit the real site and sit in exactly the right place relative to the show.
That last point is not academic. There have been shows where the show centre uploaded to the drones sat a few metres from where the aircraft actually stood, and the show heading was rotated by a few degrees. The result was the wrong aircraft assigned to flight paths, collisions shortly after take-off, and a show shifted towards the audience. A common finding in such incidents is that nobody independently verified the critical show parameters before launch.
The audience sees a few minutes of light. We see a chain where every link can stop the next one, and should.
This is why our PILOT software assigns drones to positions automatically and shows the plan in a 2D and 3D preview on satellite imagery. Seeing the show drawn over the actual site, with the grid where the drones really are, catches an offset or a rotated heading before it becomes a flight path.
Site, airspace and authorisation
In parallel with design, the operations side surveys the site: launch area, audience zones, obstacles, power lines, water, trees, and where emergency services need access. The survey produces the flight volume and the buffers around it, which feed back into the design.
Authorisation depends on the country. In the EU, the shows we fly sit in what EASA calls the specific category, and EASA explains that a specific-category operation needs an operational authorisation from the national aviation authority, unless it fits a standard scenario or the operator holds a light UAS operator certificate (LUC) with the right privileges. Where no predefined risk assessment (PDRA) fits, the operations manual goes to the authority together with a SORA risk assessment, and flights in some geographical zones may need a separate flight authorisation. In the US, shows are flown under Part 107, and rules such as operating multiple aircraft (107.35) and flying over people (107.39) are among those the FAA can waive. Rules change, so every operator must check the current requirements with their national aviation authority.
Show day: ground setup and the preflight gate
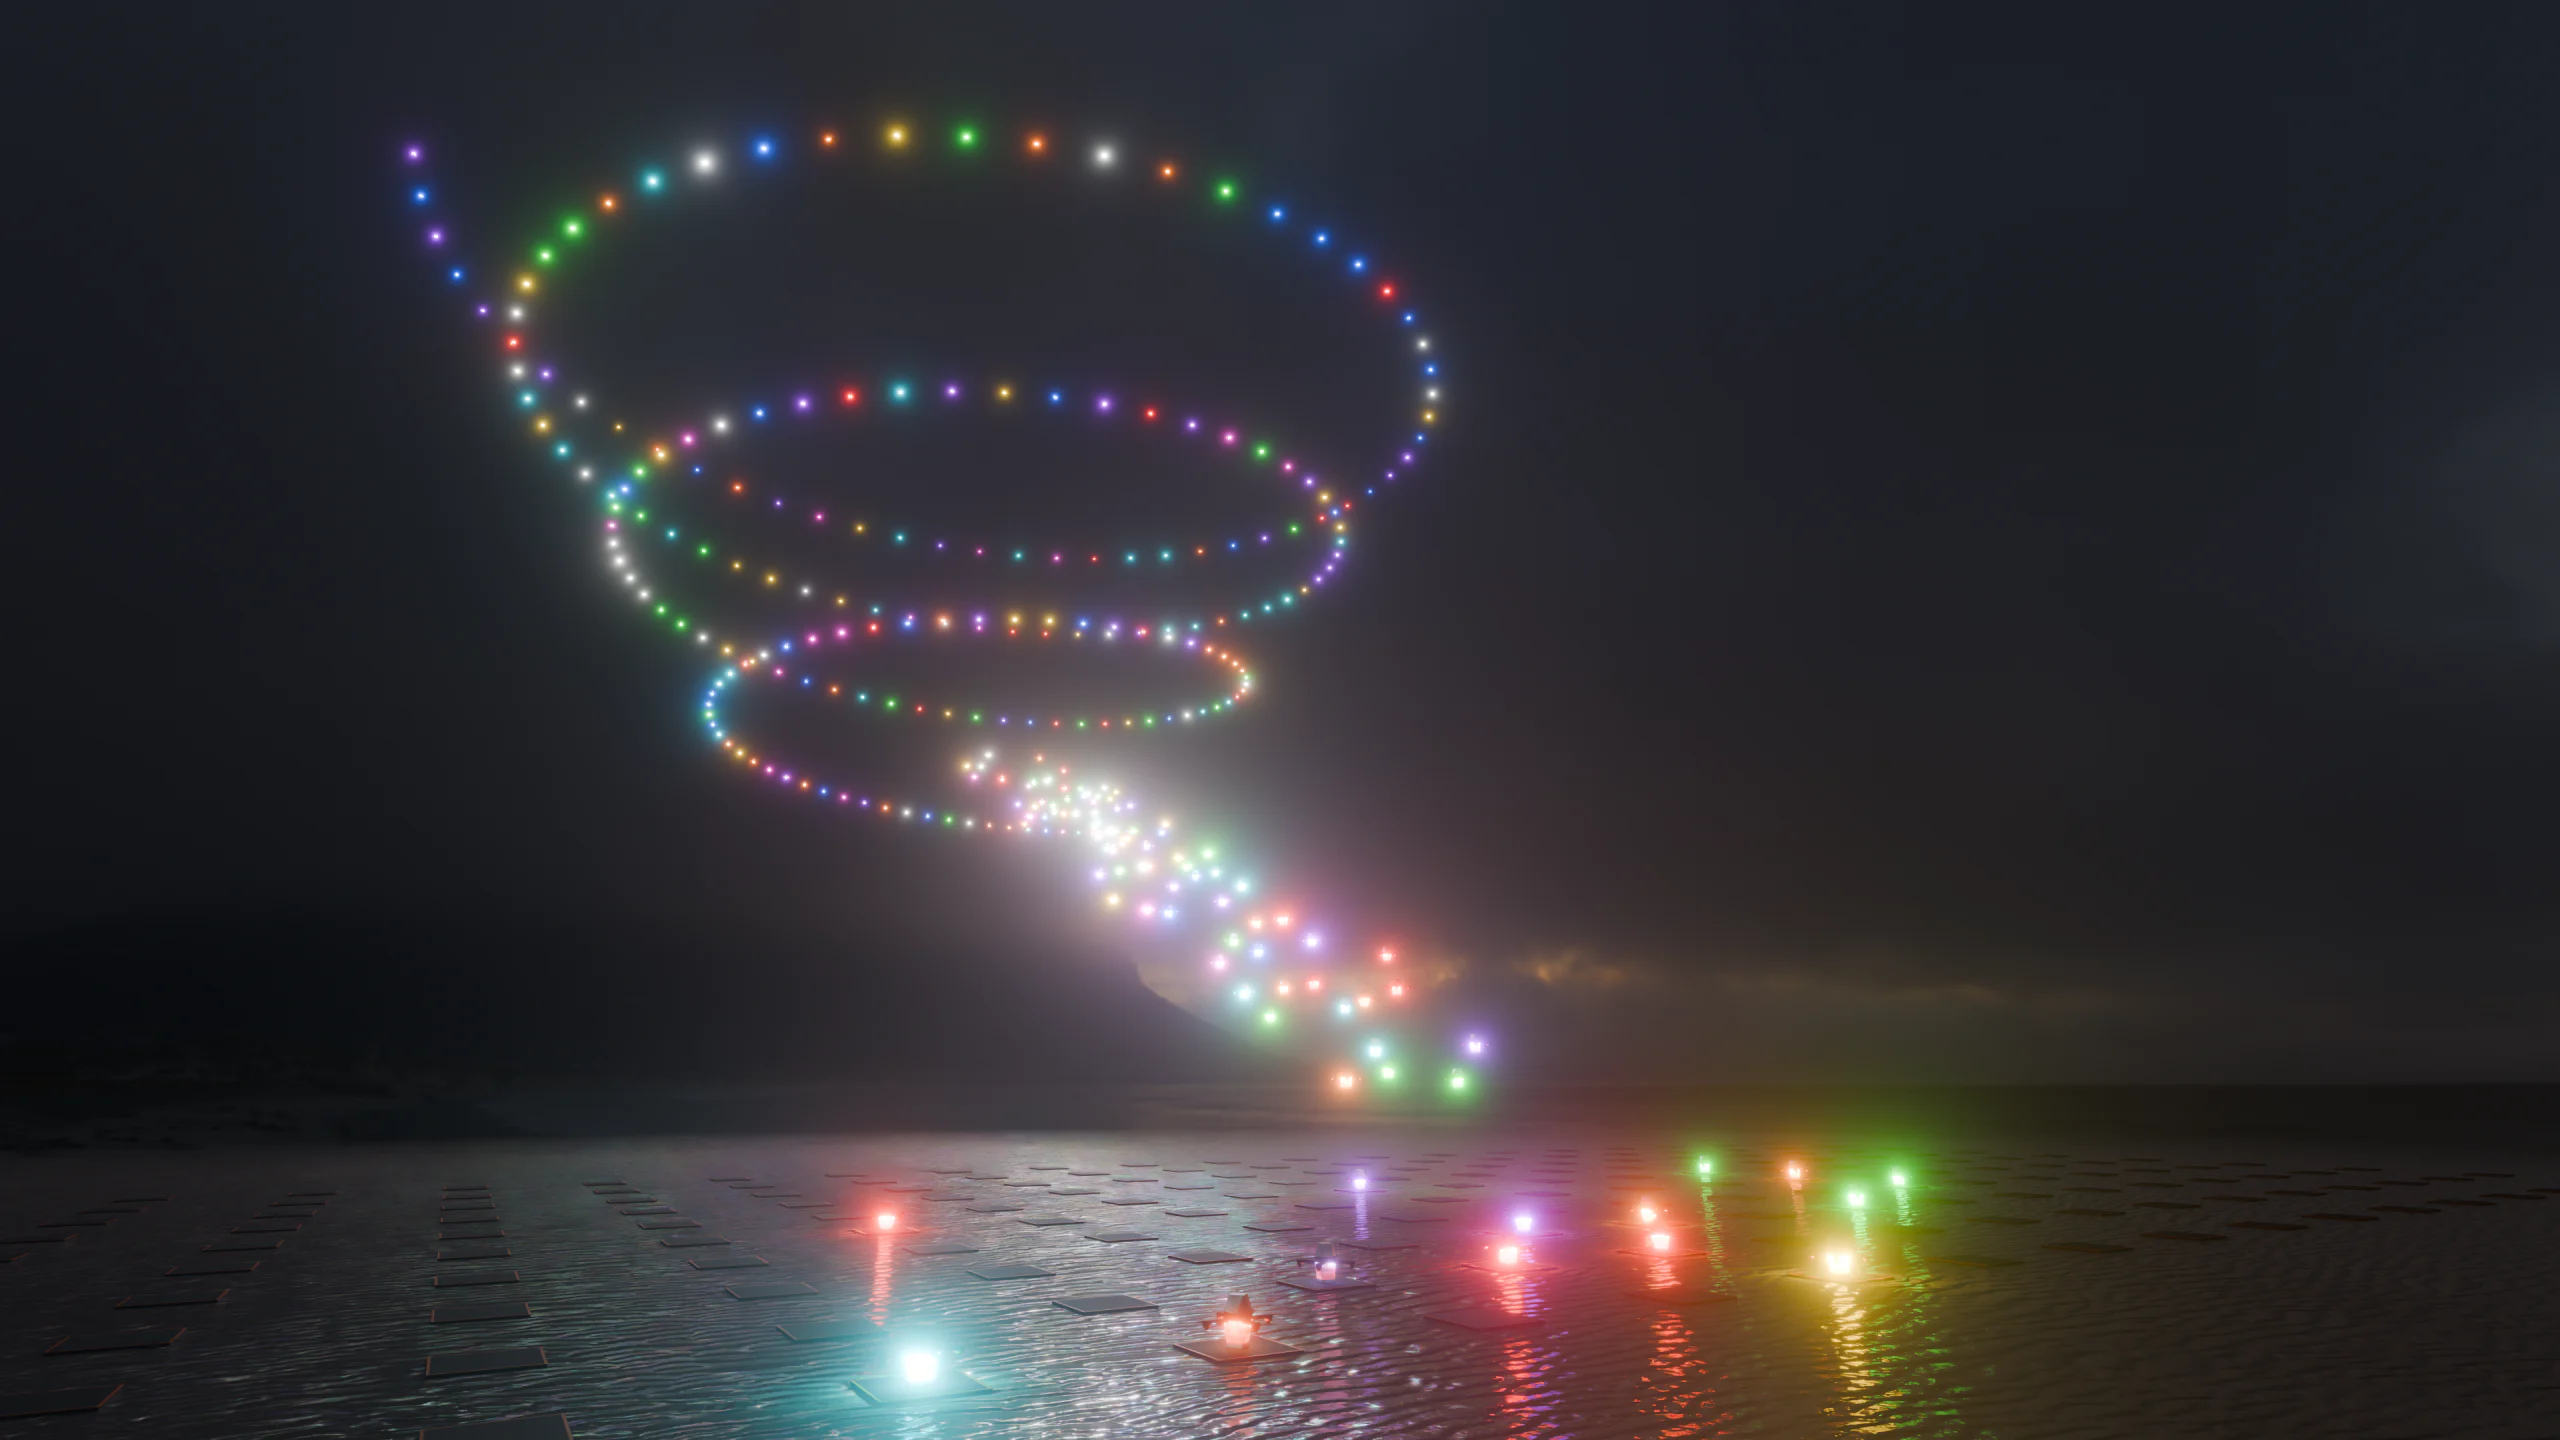
On the day, the crew lays out the grid exactly as designed, marks the show centre and heading, and sets up the ground equipment. Two pieces matter most. The first is GNSS correction. Standard satellite positioning is not precise enough to fly drones a couple of metres apart, so shows use RTK: a fixed base station on the ground streams RTCM correction data to the aircraft over a datalink, giving centimetre-level positioning. The second is the radio network that carries commands, corrections and telemetry between ground control and the fleet.
Then come the preflight checks, and they should work as a gate, not a checklist someone ticks. Every aircraft must report a good correction fix, healthy sensors, sufficient battery, the correct show file and the correct show centre. The show file itself is checked again for collision risk, speed limits, altitude bounds and geofence boundaries. In PILOT, the preflight sequence gates launch: the show does not authorise until every check clears, and hard failures raise blocking alerts. A drone that is not ready is removed from the show or fixed, not waved through.
Start, sync and safety in the air
One start, one clock
Each drone carries its own copy of the show. It does not stream positions from the ground during the performance. That means hundreds of aircraft must agree on exactly when “now” is. A timeline-locked start gives the fleet a shared start moment from a common time source, so every drone begins frame zero together.
Music sync uses the same tools the rest of live production uses. SMPTE timecode counts hours, minutes, seconds and frames, and lighting consoles fire cues when the incoming timecode reaches each cue’s time. When the drone show listens to the same timecode as the sound desk and the lighting rig, the fleet, the music and any fireworks share one clock.
Monitoring and failsafes
During the show, the operator watches live telemetry for every aircraft: position, battery, correction fix, link quality. Nobody steers the drones; the job is to spot one that is drifting or weak and let the automation act quickly.
Safety is built in layers. Geofences mark the edges of the flight volume: a soft boundary that warns, a hard boundary that triggers automatic failsafe behaviour, and, in more advanced systems, a ballistic envelope that models where a falling aircraft could land. Behind those sit kill switches, both physical and PIN-protected virtual ones. The aim is that a single faulty aircraft is handled on its own, without stopping the rest of the show, and that the whole show can be stopped instantly if it must.
After the last landing
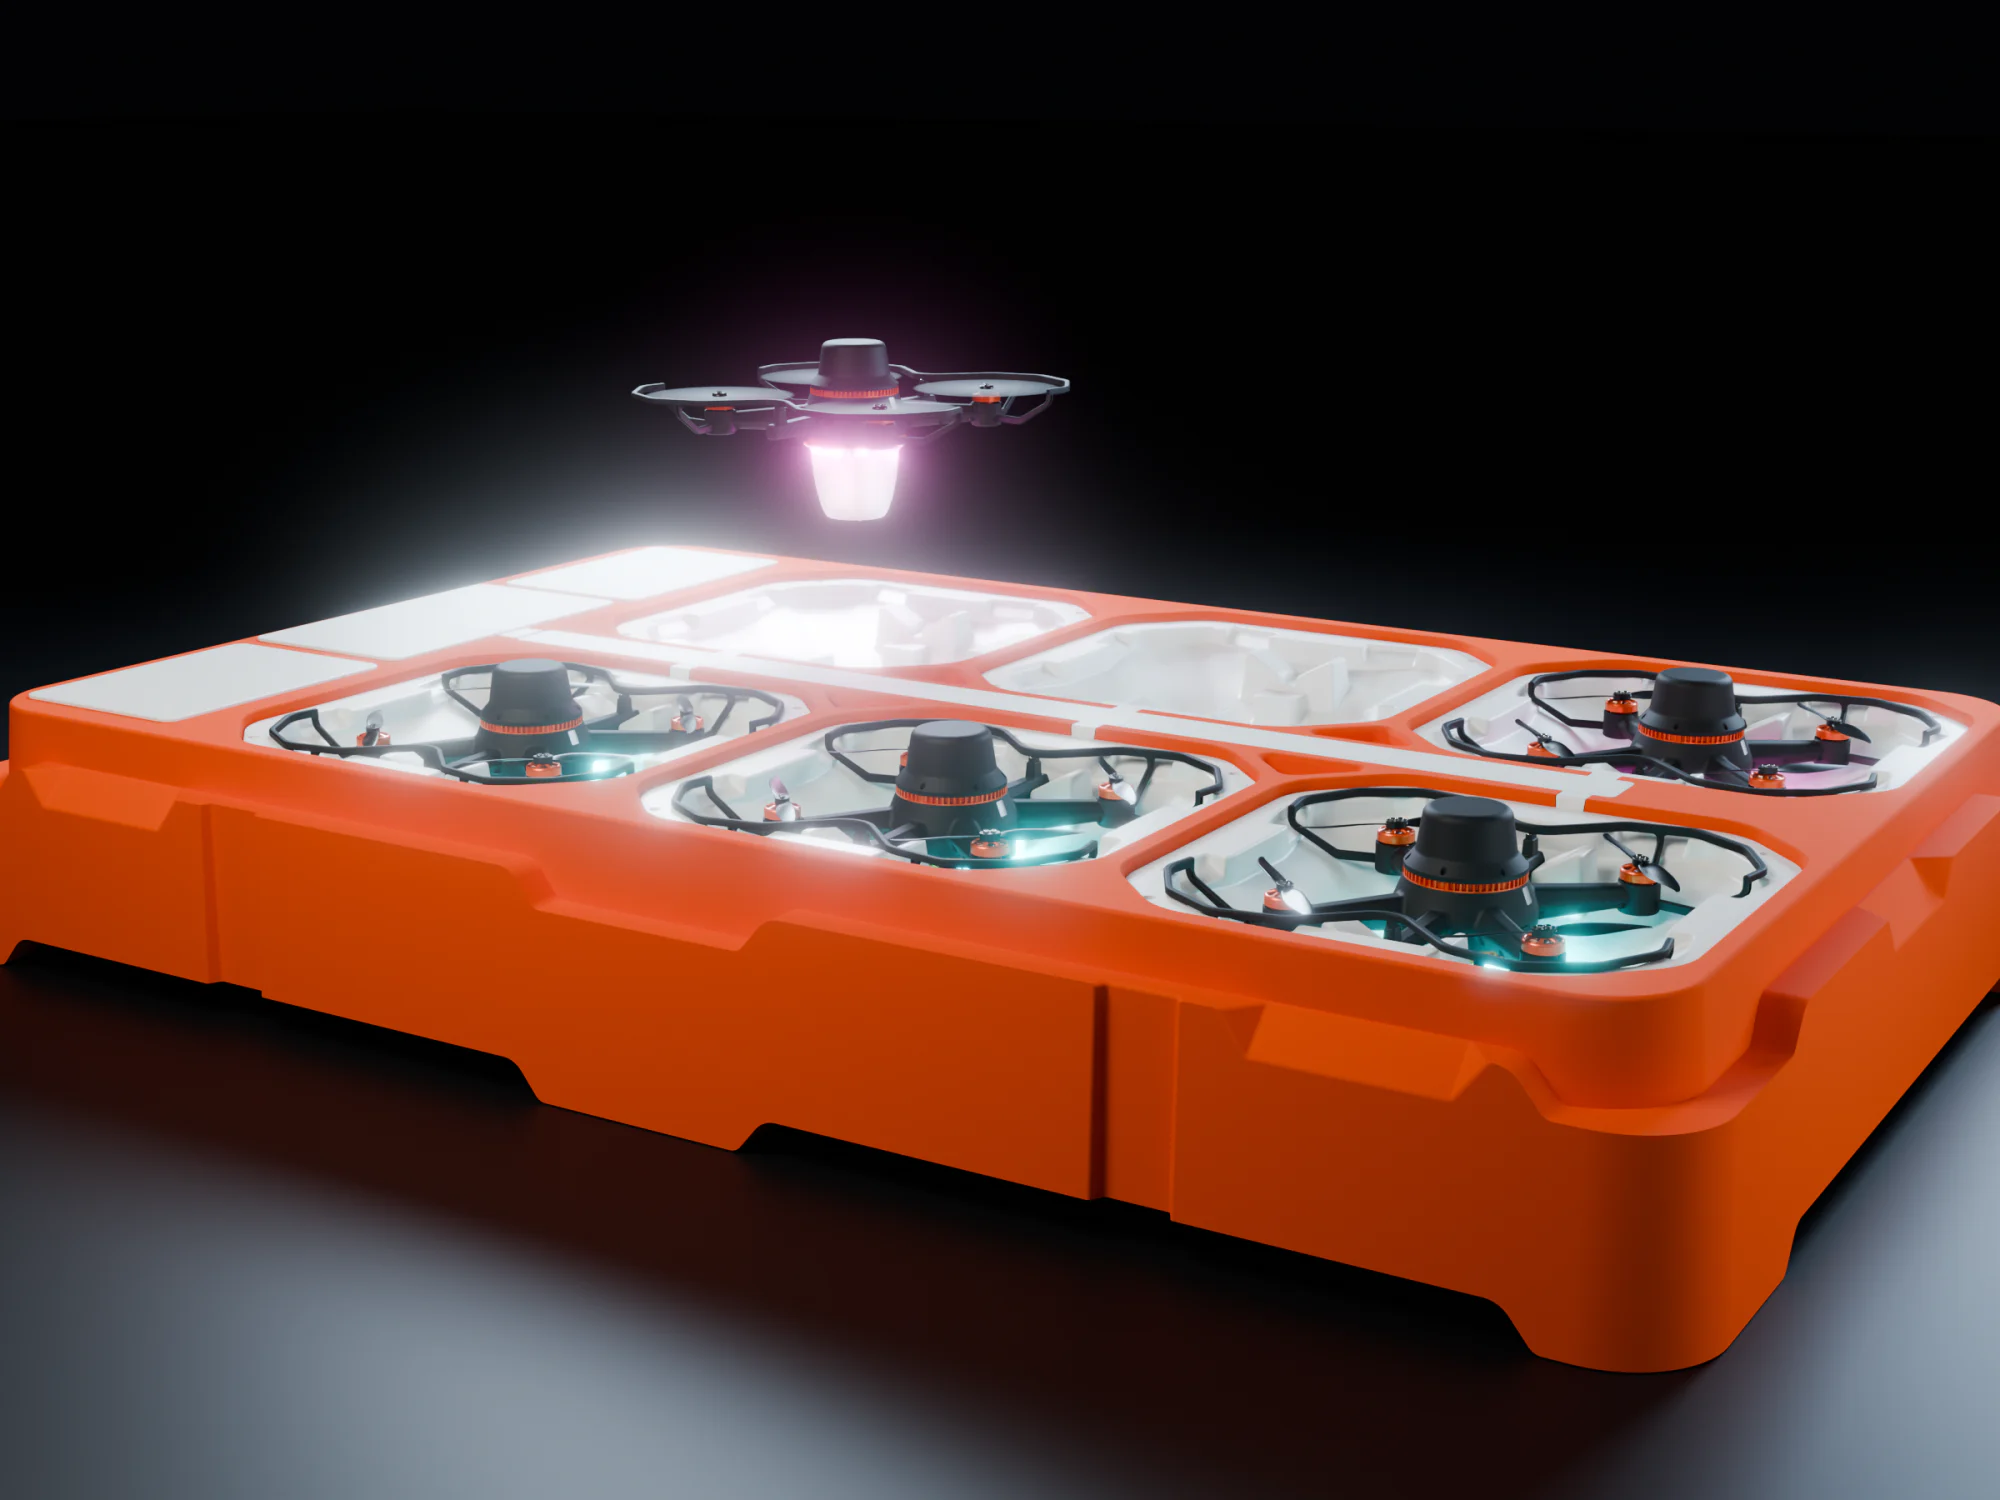
The fleet returns to its grid and lands. With NOVA, each aircraft lands into its own dock, six to a stackable dock, and charges by contact without the battery leaving the airframe, which takes a large part of the manual handling out of the night.
Then the data work starts. Each aircraft’s flight log is reviewed for anomalies: a motor working harder than its neighbours, a slow correction fix, a vibration trend. Logs matter beyond maintenance, too: when something goes wrong, the onboard logs are how investigators reconstruct what happened.
Planning a first show, or building your own operation? Our team can walk you through the pipeline: get in touch.